This post is dedicated to what I did last February 15. I made little chicken tartlets, it's like the basic chicken pot pie but instead I made it into little tarts. Though this one is just dedicated on the recipe for making the Tart shells. Just used the basic recipe and molded them into small cupcake tins.
Now for the Recipe, it's just 2 cups flour and 125 g butter (not melted) and a pinch of salt. Just that.
Cut the butter into small cubes ( really small ones if you're gonna do this by hand, you can also cut them a bit bigger if you're gonna use a food processor ), for this one, I did it by hand.
Once the butter is cut into small pieces, you can now start mixing it in the flour. Just use your hands (clean hands) to crumple the ingredients together. At this stage it may start to look like bread crumbs and that's exactly what we're gonna need.
After all the butter has turned to pea sized and no sign of dry flour, add 3 tbs of water at a time and start kneading it gently until it becomes soft and smooth. This will look like a really soft bread dough.
Once it's smooth, take it out of the bowl and place it in a plastic wrap and place it in the refrigerator for about 30 minutes. This makes the gluten in the flour to rest if not, the pastry will shrink during cooking.
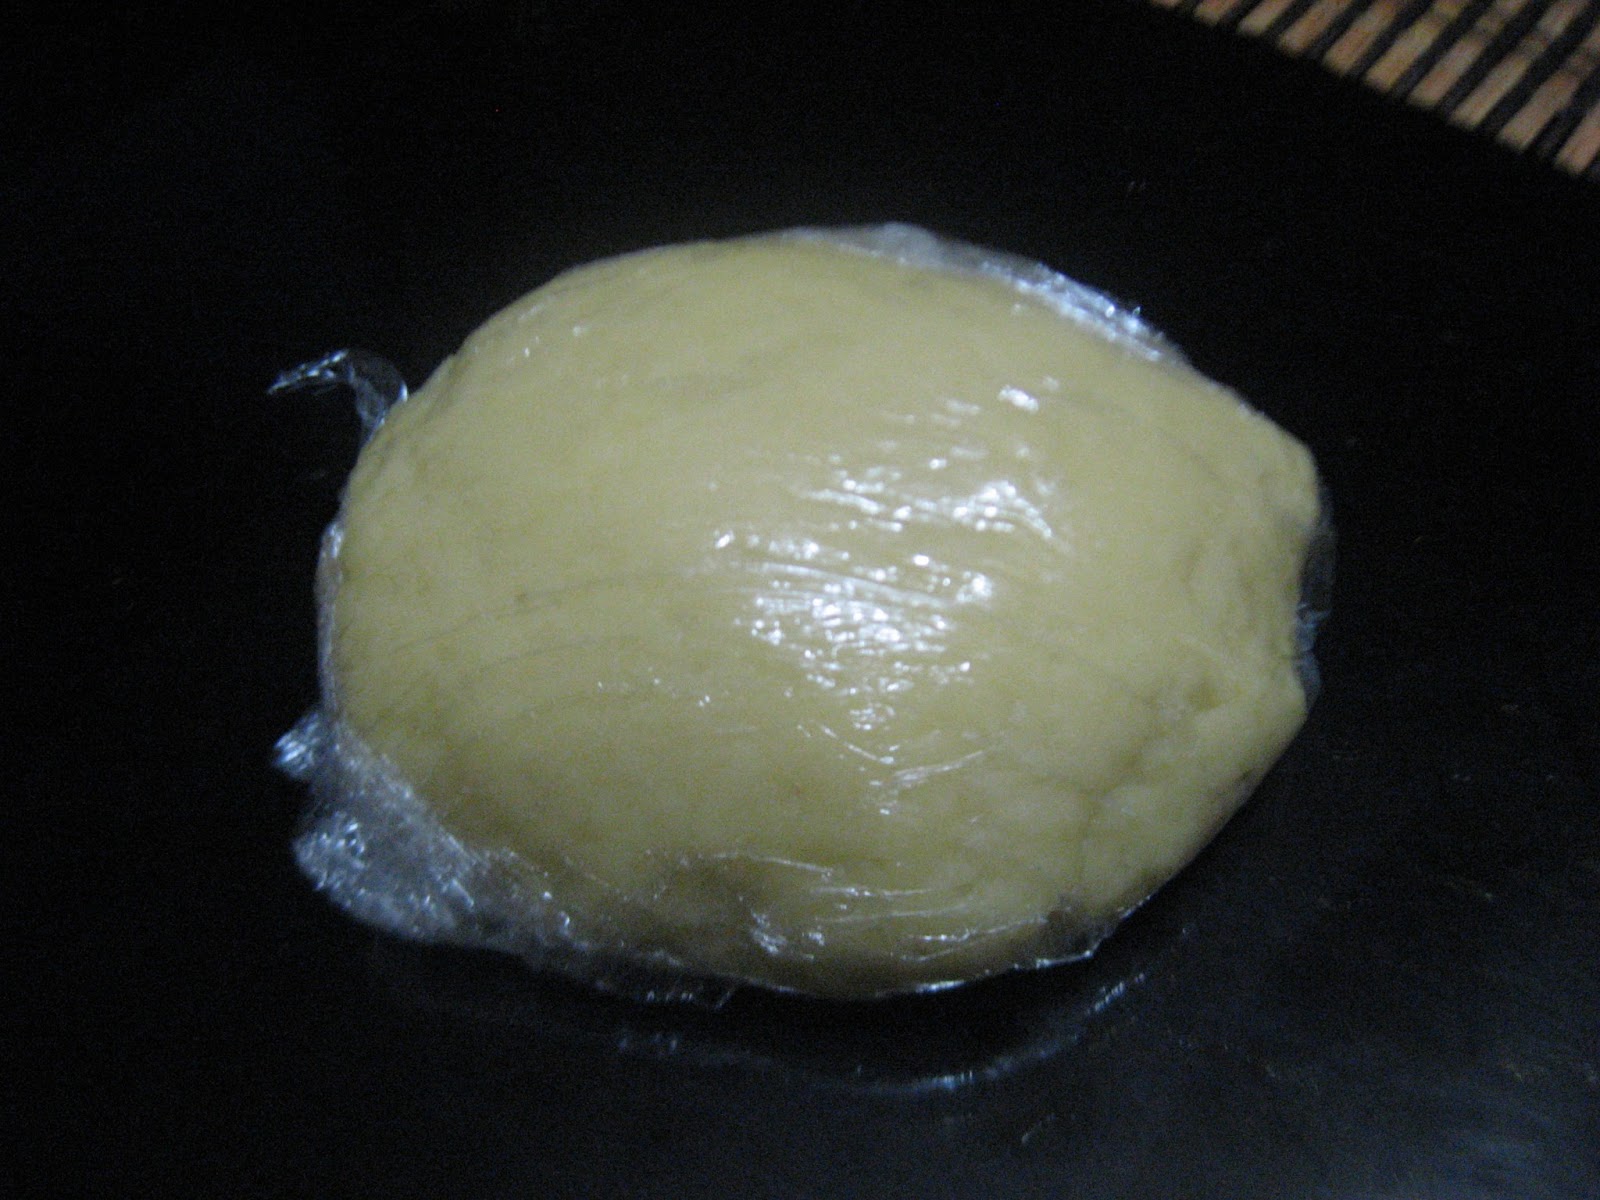
Above is a picture of the dough wrapped in a plastic wrap ready for refrigerating. . .

Once done, you can start rolling the dough. Firstly, you need to dust the work area with flour so the dough won't stick to the surface and flour the rolling pin also, same concept. Roll it and rotating the dough 90 degrees each time. Make sure it's even though. You can stop rolling when the pastry is about a quarter of an inch thick.
After rolling you can now use a cookie cutter or anything the same size as the mold to cut the sheets of pastry. Don't forget to dip the cutter in flour. Just a precaution, you never know when the dough strikes and starts sticking and eventually destroys the whole thing.


Here it is, it's fitted in the tin and make sure to poke small holes in the center, just use a fork for this. This is now ready to get refrigerated for about 10 minutes. Same concept as the last.
After refrigerating, add some wax paper, you can just cut small papers that fits in the shells and add some weights to it, in this I used Mung beans. This is what's available at that time.


Oh before I forget, when refrigerating the pastry make sure to preheat the oven as well to 180 degrees Celsius.
Bake it for at least 10 minutes, after that remove the weights and bake it for another 5 minutes to brown it a bit. This can make the shells crisp. Voila! your tartlet shells are good and ready. You can do anything you want with these little fellas, any savoury appetizers can be made with these. It cost less and is easy to make.


Try them on some of your little gatherings with friends and family, be creative with what you want with these. Just remember, it doesn't have to be expensive to have decent appetizers for your gatherings, all you need to have is your imagination. Like what the late Albert Einstein has said, " Imagination is more important than knowledge". So just let your creative side flow and have fun with it.
Cheers!
Yields up to 24 tartlet shells. 12 when using cupcake tins like what I used.
Ingredients:
- 2 cups All purpose flour
- 125 g butter
- 3 tbs water
- pinch of salt
Oh if any of you out there has any opinions whatsoever about this post, feel free to comment below. <3
No comments:
Post a Comment